
Designing for Apple isn't just about a clean look; it's about making sure every single user can actually see and use your interface. Whether someone has low vision, color blindness, or is simply using their phone in blinding sunlight, your color choices determine if your app is usable or a total barrier. Getting this right means moving beyond "guessing" if a color looks okay and instead relying on hard math and system-level tools that Apple has already built into the ecosystem.
The Math Behind the Magic: Contrast Ratios
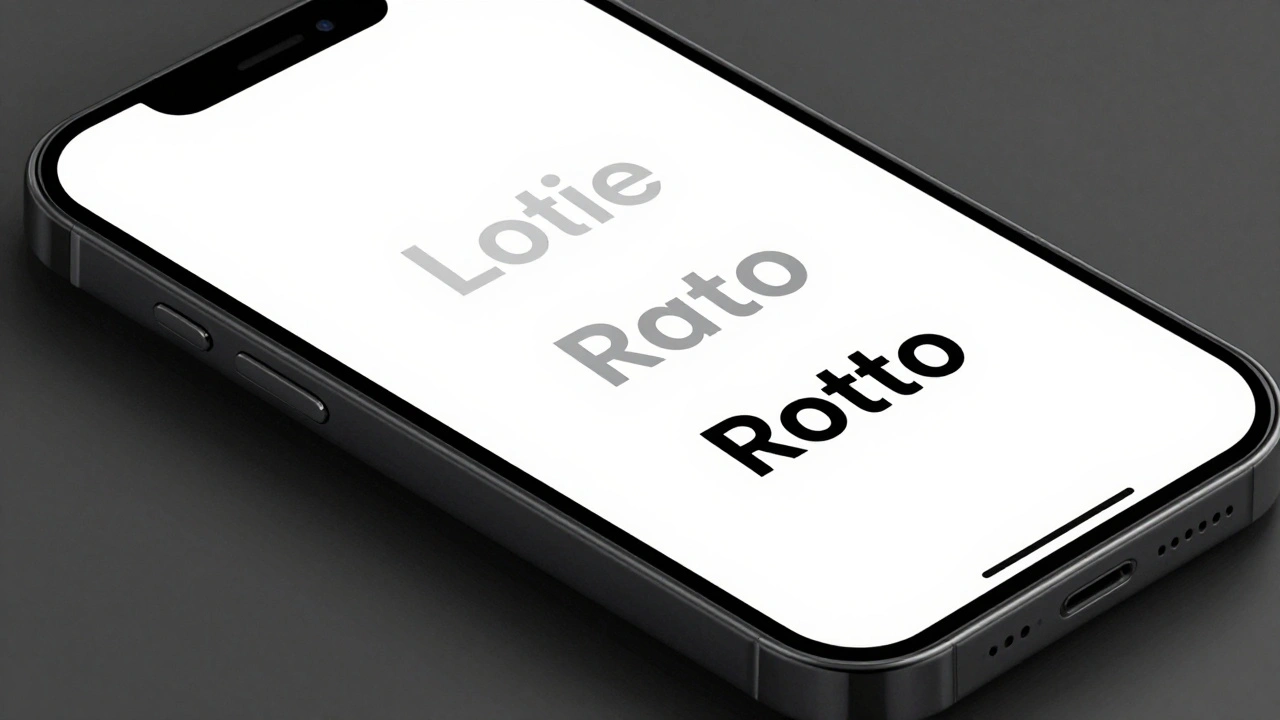
You can't eyeball accessibility. To know if your text is readable, you need to look at the contrast ratio-the difference in luminance between the foreground (text) and the background. Apple bases its requirements on the Web Content Accessibility Guidelines (WCAG), specifically the SC 1.4.3 standard.
For standard text, the golden rule is a 4.5:1 ratio. If you're working with larger text-think 20 points or larger in regular weight, or 14 points in bold-you can drop down to a 3:1 ratio because the extra thickness makes the characters easier to distinguish. However, if you're aiming for the gold standard (WCAG Level AAA), you should shoot for 7:1. This provides a massive safety margin for users with significant visual impairments.
If you're designing for Apple Vision Pro, the rules shift slightly. Because spatial computing involves variable lighting and transparency, Apple recommends at least a 4:1 ratio for elements in these environments to maintain legibility against a changing physical background.
| Text Type | Minimum Ratio (AA) | Enhanced Ratio (AAA) | Context/Size |
|---|---|---|---|
| Standard Text | 4.5:1 | 7:1 | Up to 17pt |
| Large Text | 3:1 | 4.5:1 | 20pt+ Regular / 14pt+ Bold |
| Spatial Elements | 4:1 | 7:1 | Apple Vision Pro |
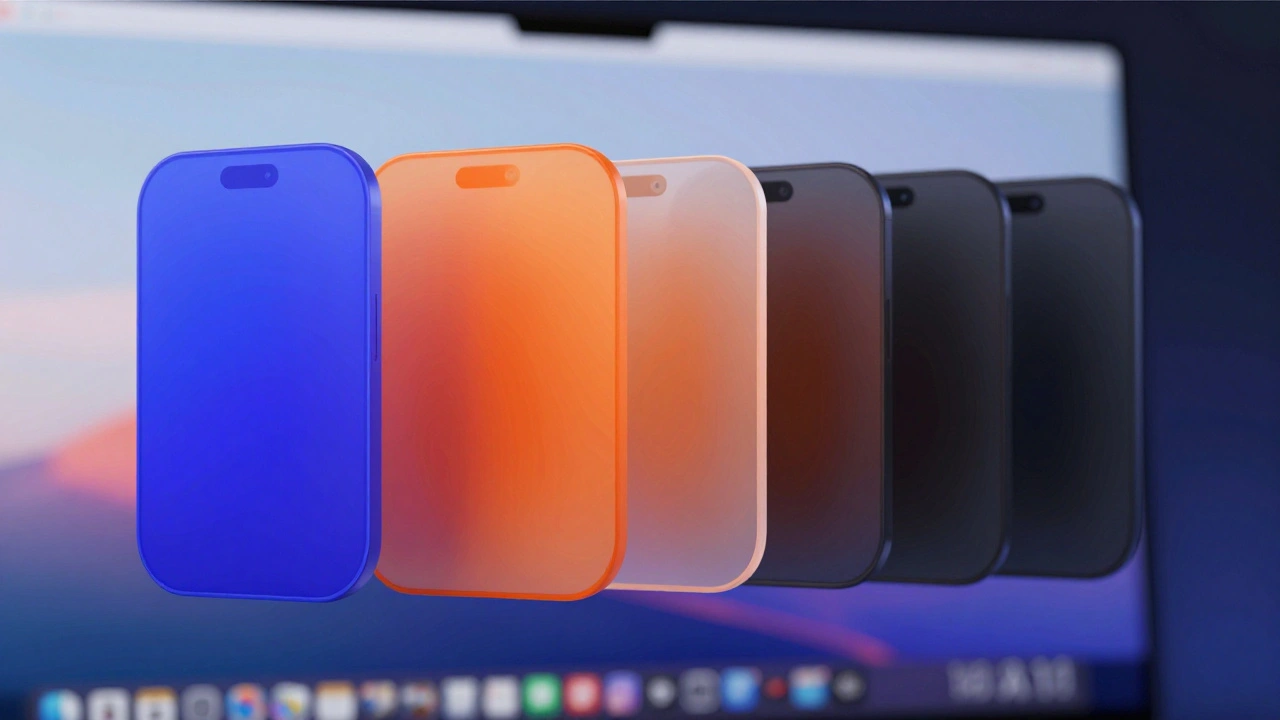
Leveraging System Tints and Dynamic Colors
The biggest mistake a developer can make is hard-coding a specific HEX value for everything. When you do that, you break the user's ability to customize their experience. Instead, you should use System Colors defined in the Human Interface Guidelines.
Colors like System Indigo, System Orange, or the generic Label color for text are dynamic. They aren't just one color; they are sets of values that automatically swap based on whether the user is in Light Mode, Dark Mode, or has "Increase Contrast" turned on in their settings. By using these, you get accessibility for free because Apple has already done the math on the contrast ratios for you.
For more complex layouts, use material backgrounds. Apple provides three main levels of opacity: .regular, .thickMaterial, and .ultraThickMaterial. If you have a critical piece of information that must be legible regardless of what's behind it, .ultraThickMaterial is your best friend-it provides the highest level of contrast and occlusion.
The "Increase Contrast" Power User Setting
In iOS, there's a setting under Accessibility > Display & Text Size called "Increase Contrast." When a user flips this switch, the system doesn't just tweak a few colors; it fundamentally changes how the UI is rendered. Text becomes darker, buttons get more defined borders, and cells in a table become more distinct.
If you are using custom colors instead of the standard system set, you can't just hope for the best. You need to use the Color Set feature in your xcassets folder. This allows you to define a specific "High Contrast" appearance. When the user enables that system setting, your app will automatically swap to these high-contrast variants, keeping your design intact while meeting the user's accessibility needs.
Testing Your Colors in the Real World
Testing in a bright office is not the same as testing for a user with low vision. A common trap is the "gray-on-black" look in Dark Mode. While it looks sleek and reduces eye strain for most, it's a nightmare for users with visual impairments. To fix this, you need to test your Dark Mode interfaces with the "Increase Contrast" setting enabled simultaneously.
You have a few great tools for this. The Xcode Accessibility Inspector is the fastest way to check ratios without leaving your dev environment. If you need a second opinion, the WebAIM Contrast Checker is the industry standard for verifying RGB or HEX values against WCAG standards. For those on macOS, the Contrasts app is a fantastic tool for real-time verification and ensuring you're ready for the European Accessibility Act requirements.
For spatial design on Vision Pro, the process is a bit more manual. Try capturing screenshots of your UI in different simulated environments, using the macOS Digital Color Meter to grab the exact RGB values of your text and background, and then plugging those into a checker. Since the background in visionOS is the user's own room, your "background" color is essentially a variable-which is why high-opacity materials are non-negotiable.
What is the difference between WCAG Level AA and AAA?
Level AA is the standard target for most commercial apps, requiring a 4.5:1 contrast ratio for normal text. Level AAA is a more stringent standard, requiring a 7:1 ratio, which ensures the content is accessible to people with much more severe visual impairments.
Does using Apple's System Colors guarantee accessibility?
Generally, yes. Apple's system colors are designed to adapt to Dark Mode and "Increase Contrast" settings automatically. However, if you place a system color on a custom background, you still need to verify the contrast ratio of that specific combination.
How do I handle accessibility for user-generated content?
When you can't control the colors (like in a user's uploaded profile banner), use an overlay or a semi-transparent "scrim" behind your text. This ensures that no matter what color the user uploads, your text remains legible against a consistent contrast layer.
Why should I use .ultraThickMaterial instead of a solid color?
Materials provide a sense of depth and context by letting some of the background bleed through, but .ultraThickMaterial maximizes the opacity. This gives you the best of both worlds: the native Apple aesthetic and the high contrast needed for critical UI elements.
What happens if my app fails the App Store accessibility evaluation?
While accessibility failures might not always lead to an immediate rejection, they can hinder your app's visibility in accessibility-focused rankings and, more importantly, alienate a significant portion of your potential user base. Following the HIG ensures a smoother review process.
Next Steps for Your Design Workflow
If you're just starting to audit your app, don't try to fix everything at once. Start by replacing all hard-coded HEX values with System Colors wherever possible. Next, run a pass through the Xcode Accessibility Inspector to find any "red flags" where your contrast is below 3:1. Finally, enable "Increase Contrast" and "Bold Text" in your device settings and spend an hour using your app; you'll be surprised how many blind spots you find when you actually experience the interface as a low-vision user would.