
Imagine trying to navigate a website where every button is invisible, or an app that ignores your voice commands because it only expects touch. For millions of people with disabilities, this isn't a hypothetical scenario-it's the daily reality of poorly designed software. But what if your code could automatically adapt to any user, regardless of how they interact with their device? That’s the promise of Apple Accessibility APIs, which are a comprehensive framework enabling developers to create applications usable by people with diverse abilities and different interaction methods.
Building inclusive interactions shouldn’t be an afterthought added right before launch. It needs to be baked into your development process from day one. Apple has made significant strides in making this possible through its robust accessibility infrastructure. By leveraging these tools, you aren't just checking a compliance box; you're ensuring your app works for everyone, whether they use VoiceOver, switch control, or standard touch inputs.
The Foundation: Understanding UIAccessibility
At the heart of Apple’s accessibility ecosystem lies the UIAccessibility protocol, which provides methods to deliver accessibility information about views and controls in an app's user interface. If you are building apps for iOS or iPadOS using UIKit, this is your primary toolset. Think of UIAccessibility as the translator between your visual interface and assistive technologies like VoiceOver.
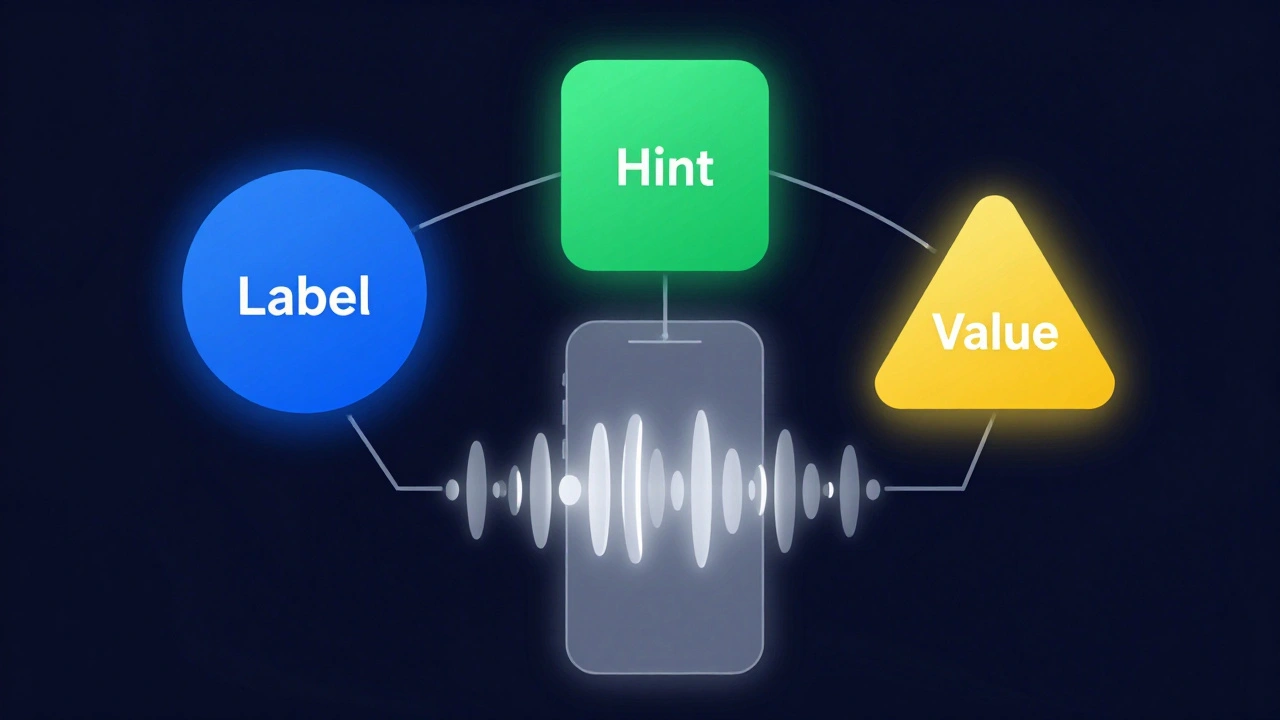
When you implement this protocol, you define three critical attributes for every element:
- Label: What is this element? (e.g., "Submit Order Button")
- Hint: What happens when I activate it? (e.g., "Submits your order for processing")
- Value: What is the current state? (e.g., "Selected", "50% complete")
Standard UIKit controls like UIButton and UITextField handle much of this automatically. However, custom views often fail to communicate their purpose unless you explicitly conform to the protocol. Without proper labeling, a user relying on screen readers hears nothing but silence or generic descriptions like "image" or "view," leaving them stranded.
Beyond Touch: Supporting Diverse Input Methods
Many developers assume accessibility means only supporting screen readers. This is a narrow view. True inclusivity requires supporting various physical interaction methods. Apple’s framework allows users to navigate interfaces using remote controls, game controllers, keyboards, and even specialized gestures like the Apple Pencil squeeze.
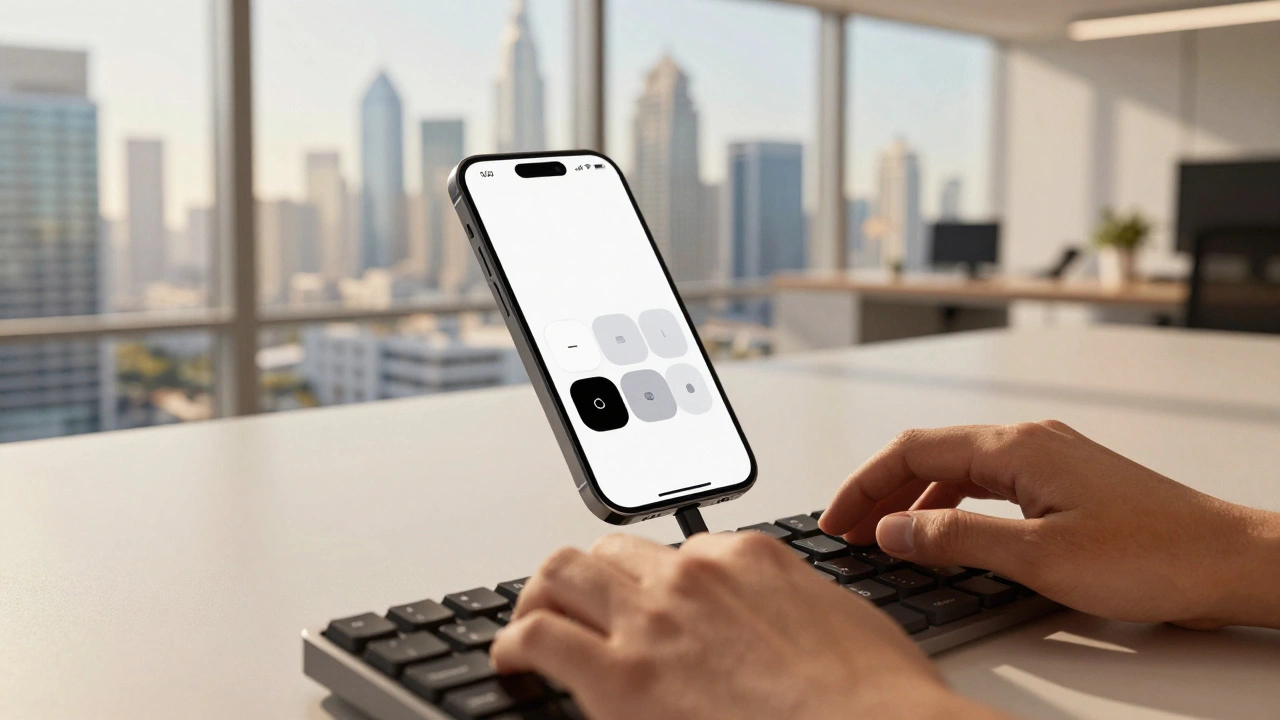
For instance, consider a drawing app. A user with limited motor control might not be able to perform fine-tipped touches. By enabling Switch Control, which allows users to operate iOS devices using external switches or specific gestures, you let them activate tools via head movements or eye tracking. Similarly, supporting keyboard navigation ensures that users who cannot use a touchscreen can still move focus between elements using Tab keys.
To support these interactions effectively, you must ensure that all interactive elements are focusable and activatable via non-touch inputs. Test your app with the physical keyboard connected to your iPhone. If you can’t navigate the entire flow without touching the screen, there’s work to do.
Custom Controls and Dynamic Type
While standard components are accessible out-of-the-box, custom UI elements require extra attention. When you build a custom slider, toggle, or chart, you lose the built-in accessibility metadata. You need to manually assign accessibility traits and labels.
One common pitfall is ignoring Dynamic Type, which allows users to adjust text size system-wide for better readability. Many developers hard-code font sizes, causing text to overflow containers or become unreadable when users increase the system font scale. To fix this, use UIFont.preferredFont(forTextStyle:) instead of fixed sizes. This ensures your text scales gracefully alongside the user’s preferences.
Another issue arises with color contrast. Relying solely on color to convey meaning excludes users with color vision deficiencies. Always pair color cues with icons, patterns, or text labels. For example, don’t just turn a field red to indicate an error; add an exclamation icon and descriptive text.
Documenting Support via App Store Connect
Implementing accessibility features is only half the battle. Users need to know your app supports them before downloading. This is where the App Store Connect API comes into play, allowing developers to formally declare which accessibility modalities their applications support.
Through the App Store Connect API, you can create accessibility declarations that highlight specific features such as VoiceOver compatibility, Switch Control support, or closed captions. These declarations appear in the App Store listing, helping users identify apps that meet their needs. Failing to declare these features hides your app from users who specifically filter for accessibility support.
This transparency builds trust. When users see that an app explicitly supports their required tools, they are more likely to download and engage with it. It also signals to Apple that your app adheres to high-quality standards, potentially improving your visibility in search results.
Human Interface Guidelines: Design Standards
Code alone doesn’t guarantee accessibility. Design plays a crucial role. Apple’s Human Interface Guidelines provide design standards that reinforce commitment to inclusive design across Apple platforms. These guidelines emphasize clarity, deference, and depth-principles that naturally enhance accessibility.
Clarity means presenting content in a way that is easy to understand. Use simple language and intuitive layouts. Deference involves respecting the user’s time and context, avoiding unnecessary distractions. Depth creates an emotional connection through polished visuals, but never at the expense of usability.
For example, the guidelines recommend maintaining sufficient touch target sizes (at least 44x44 points) to accommodate users with motor impairments. They also advise against relying on animations alone to convey information, as some users may disable motion effects due to vestibular disorders.

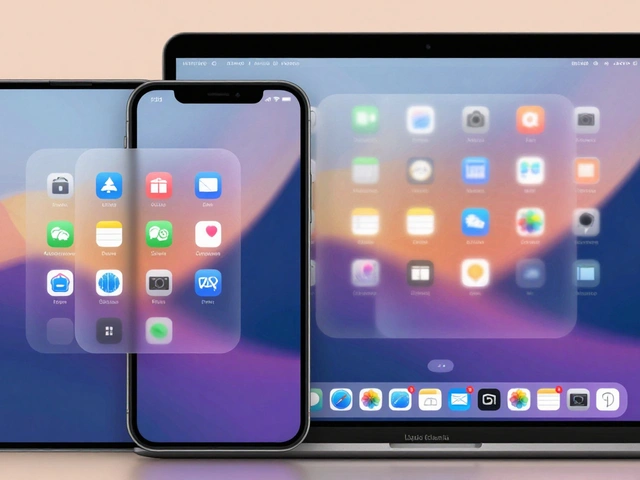
Cross-Platform Consistency
Apple’s accessibility framework isn’t limited to iOS. It extends to macOS, watchOS, and tvOS, ensuring a consistent experience across devices. The core principles remain the same, though implementation details vary slightly depending on the platform’s input methods.
On macOS, keyboard navigation becomes even more critical since most users rely on mice and keyboards rather than touch. On watchOS, haptic feedback serves as an important accessibility cue, providing tactile confirmation of actions. Understanding these nuances helps you tailor your accessibility strategy to each platform while maintaining a unified brand experience.
By adopting a cross-platform approach, you reduce fragmentation and make it easier for users to transition between devices without losing functionality. This consistency reinforces Apple’s philosophy that accessibility should be a fundamental design consideration, not an optional enhancement.
| Feature | Primary Use Case | Implementation Complexity |
|---|---|---|
| UIAccessibility Protocol | Providing labels/hints for custom views | Moderate |
| Dynamic Type | Scaling text for readability | Low |
| Switch Control Support | Enabling alternative input methods | High |
| App Store Declarations | Communicating support to users | Low |
Testing Your Implementation
You can’t rely on assumptions when building accessible apps. Regular testing is essential. Start by enabling VoiceOver on your device and navigating your app blindfolded. Can you find key features? Do buttons have clear labels? Next, try increasing the text size to the maximum setting. Does your layout break?
Xcode includes built-in accessibility inspectors that help you audit your UI elements. These tools reveal missing labels, incorrect hints, and improper trait assignments. Additionally, third-party tools like Axe DevTools can automate part of the testing process, identifying common issues quickly.
Involve real users with disabilities in your testing phases. Their insights will uncover edge cases that automated tests miss. Remember, accessibility is an ongoing journey, not a one-time fix.
Do I need to implement UIAccessibility for standard UIKit controls?
No, standard UIKit controls like UIButton and UITextField already include basic accessibility support. However, you should still customize labels and hints to match your app’s context for better clarity.
How does Dynamic Type affect my app’s layout?
Dynamic Type allows users to increase text size system-wide. If your layout uses fixed constraints, larger text may cause overlaps or truncation. Use auto-layout and flexible fonts to ensure your UI adapts smoothly.
What is the best way to test accessibility in Xcode?
Use the Accessibility Inspector within Xcode to analyze individual UI elements. Enable VoiceOver on your simulator or device to experience the app as a visually impaired user would. Combine both approaches for thorough testing.
Can I declare accessibility features manually in App Store Connect?
Yes, you can manually select supported accessibility features during app submission. Alternatively, use the App Store Connect API to automate this process for multiple apps, ensuring consistency and accuracy.
Why is keyboard navigation important for iOS apps?
Keyboard navigation supports users with motor impairments who cannot use touchscreens effectively. It also benefits power users who prefer faster, precise input methods. Ensuring all interactive elements are focusable enhances overall usability.


Categories
Popular Articles