
Most people think the MacBook’s sound is just fine-until they try to watch a movie or listen to music with real depth. Then they notice something missing: the bass doesn’t hit, voices sound flat, and the audio feels like it’s coming from inside the laptop, not around it. The truth? MacBook audio design isn’t broken-it’s just misunderstood. The real secret to rich, directional sound isn’t upgrading to expensive speakers. It’s how you place them.
Why MacBook Speakers Feel Limited
MacBooks have always had surprisingly good built-in speakers for their size. Apple uses dual-channel stereo drivers on either side of the keyboard, angled outward toward the user. On newer models like the 14-inch and 16-inch MacBook Pro (2023), the speakers deliver a frequency range from 40Hz to 20kHz, with a peak output of around 1.5W per channel. That’s not much by home theater standards, but it’s tuned carefully for personal use. The problem isn’t the hardware. It’s the physics. When speakers sit on either side of a laptop, their sound waves spread out sideways, not forward. That means when you’re sitting at your desk, the sound reaches your ears from the left and right, but not from the front. You get stereo separation, sure-but no sense of space. No immersion. No direction. That’s why even a $50 pair of external speakers can feel like a revelation. But even then, if you just plug them in and leave them where they are, you’re wasting their potential.How External Speakers Change the Game
Connecting external speakers to your MacBook isn’t just about volume. It’s about control. Once you plug in a pair of powered speakers via the headphone jack or USB-C, you’re no longer limited by the laptop’s internal acoustics. You can now shape the sound environment around you. The first step? Use the right output. Go to System Settings > Sound > Output. Pick your external speakers. If you’re using multiple devices-say, a pair of speakers and a subwoofer-you’ll need Audio MIDI Setup. Open it from Applications > Utilities. Click the + button, choose Create Multi-Output Device, then check the boxes for each device you want to use. This lets you send the same audio to both your speakers and a connected subwoofer at once. Don’t forget to adjust levels. Set your speakers to about 50% volume, then crank your MacBook’s output between 60% and 85%. That sweet spot avoids distortion while giving you headroom for dynamic range. Too loud on the computer? You’ll clip. Too quiet? You lose detail.The Equilateral Triangle Rule
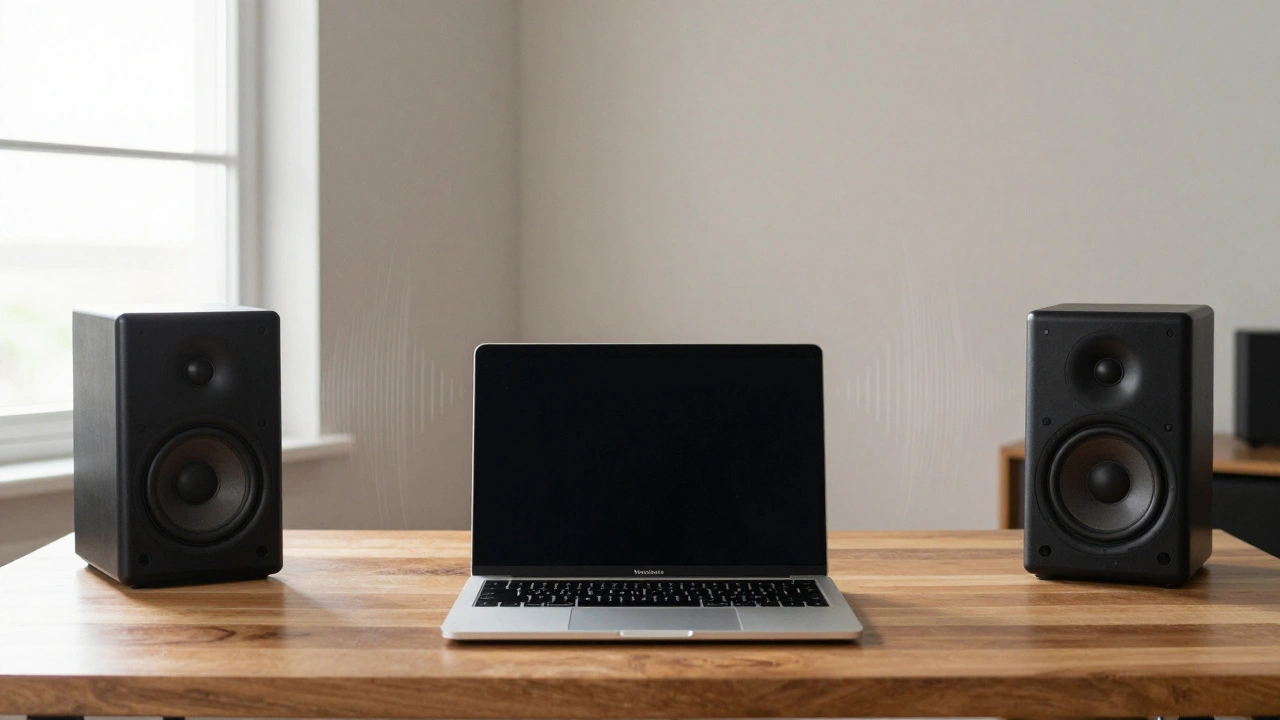
Acoustic engineers have known this for decades: for the clearest, most immersive stereo image, your speakers and your head should form an equilateral triangle. That means: the distance between your two speakers should be the same as the distance from each speaker to your ears. If your speakers are 3 feet apart, you should sit 3 feet away from each one. Your head becomes the third point of the triangle. This isn’t just theory. It’s physics. Sound waves travel at 1,125 feet per second. If one speaker’s signal reaches your ear 10 milliseconds after the other, your brain can’t fuse them into a single source. You hear left and right-not center. The equilateral triangle ensures timing alignment. It creates a phantom center channel, where voices and instruments feel like they’re floating in front of you, not coming from the sides. Place your speakers at ear level. Not below. Not above. At ear level. That’s where your ears naturally focus. If they’re too low, bass gets muddy. Too high, and the highs get harsh.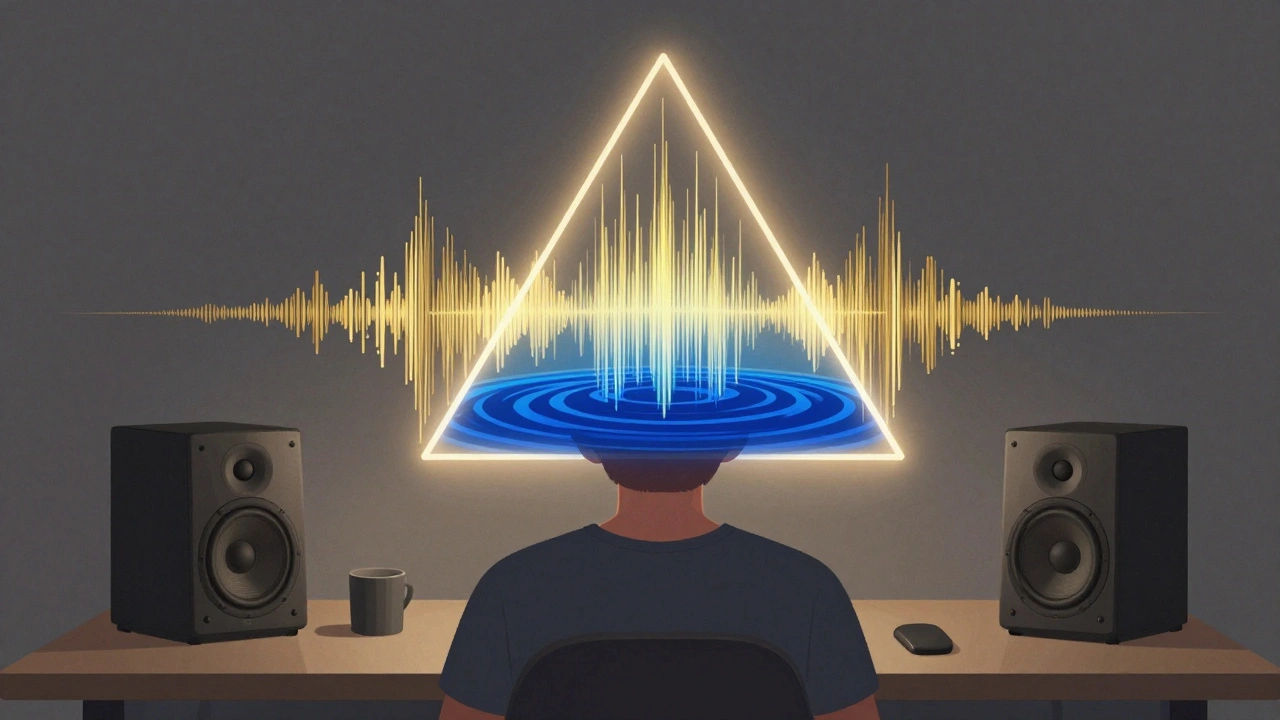
Subwoofers and Room Acoustics
A MacBook’s built-in speakers barely touch the low end. That’s why adding a subwoofer changes everything. But where you put it matters more than you think. Try the subwoofer crawl. Play a track with deep bass-something like “Billie Jean” by Michael Jackson. Put the subwoofer where you normally sit. Then crawl around the room on your hands and knees, listening. Where does the bass sound fullest? Where does it feel like it’s vibrating through your chest? That’s your spot. Most people put subwoofers in corners. That boosts bass-but often too much. Corners create standing waves, where certain frequencies pile up and boom unnaturally. The crawl method finds the sweet spot where bass is deep, even, and controlled. If you have two subwoofers, place them near the front left and right speakers. This evens out room response and reduces boominess. Four? Even better-but most people don’t need it.Advanced Setup: Spatial Audio and Surround
Newer MacBooks support Dolby Atmos and 7.1.4 surround through Audio MIDI Setup. If you have a home theater system with rear speakers, you can assign each channel manually. In Audio MIDI Setup, click Configure Speakers. Choose 7.1.4 or 5.1 Surround. Then use the dropdown menus to assign each speaker to its correct channel: Front Left, Front Right, Center, Surround Left, Surround Right, LFE (subwoofer), and Height channels. Test each one. Click the Test button next to each channel. You’ll hear a tone play from that speaker. If the center channel isn’t working, your voice in podcasts will sound off. If the rear speakers are swapped, your movie explosions will feel wrong. This setup turns your MacBook into a studio-grade audio source. You’re not just listening-you’re experiencing.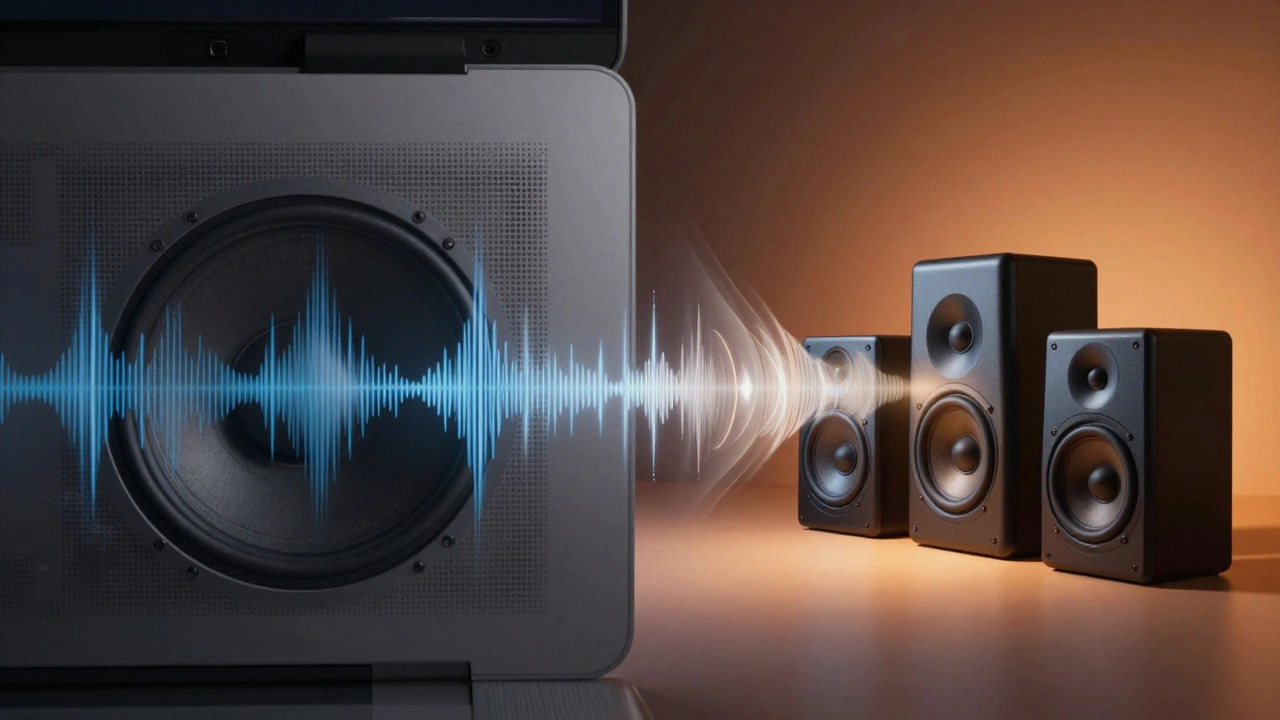
What Doesn’t Work
A lot of people try to use AirPlay speakers like HomePods alongside wired setups. Apple’s Audio MIDI Setup won’t let you combine AirPlay devices into a multi-output group. You can’t route the same audio to both a wired speaker system and a HomePod at once through this tool. But here’s the workaround: use the Music app. Open Music, click the AirPlay button (the rectangle with sound waves), then select both your wired multi-output device and your HomePod. Set each volume independently. The wired system handles the full range. The HomePod adds ambient fill. It’s not perfect-but it’s close. Also, avoid cheap USB speakers that plug into the MacBook’s USB-C port. Many of them have terrible digital-to-analog converters. They sound tinny, even if they’re loud. Stick with powered speakers that have their own amp. You’ll hear the difference.Real-World Setup Example
Imagine this: You’re working on a 14-inch MacBook Pro. You’ve got a pair of JBL Professional 305P MkII speakers on your desk, each 3 feet apart. You’ve got a subwoofer tucked under your desk, placed after a 10-minute crawl. You’ve configured Audio MIDI Setup to send audio to both. You’ve set your MacBook volume to 75%. You play a film score. The strings sweep across the room. The timpani hits from the front. The bass rumbles from below. The cymbals shimmer above. It’s not just sound. It’s space. That’s not magic. That’s design.Final Tip: Test with What You Listen To
Don’t use test tones. Use music you know. A song you’ve heard a hundred times. Notice where the vocals sit. Is the guitar panned left? Is the kick drum centered? If the answer is no, your placement is off. Move one speaker an inch. Try it again. That tiny change might make all the difference. MacBook audio isn’t about power. It’s about precision. The hardware is already good. The room around it? That’s where you make it great.Can I use AirPlay speakers like HomePod with my MacBook’s wired speakers at the same time?
Yes, but not through Audio MIDI Setup. You can’t combine AirPlay devices into a multi-output group. Instead, open the Music app, click the AirPlay button, and select both your wired multi-output device and your HomePod. You can adjust the volume of each separately. This lets you use the wired speakers for full-range sound and the HomePod for ambient fill.
Why do my MacBook speakers sound flat even with external speakers connected?
If your external speakers are placed too close together, too far away, or not at ear level, the stereo image collapses. The equilateral triangle setup-where your head and the two speakers form equal sides-is key. Also, make sure your MacBook’s output volume is between 60% and 85%. Too low, and you lose dynamics. Too high, and you distort.
Do I need a subwoofer for MacBook audio?
Not always-but if you listen to music with deep bass, watch movies, or work with audio production, yes. MacBook speakers can’t reproduce frequencies below 80Hz well. A subwoofer fills that gap. Use the subwoofer crawl method to find the best placement in your room. Avoid corners unless you want boomy, uneven bass.
Can I set up 5.1 or 7.1 surround sound with a MacBook?
Yes. Open Audio MIDI Setup, create a multi-output device, then click Configure Speakers. Choose 5.1 Surround or 7.1.4. Assign each speaker to its channel using the dropdown menus. Test each one with the built-in tone generator. This works with any compatible multi-channel speaker system connected via USB, HDMI, or audio interfaces.
What’s the best speaker size for a MacBook setup?
For a desk setup, 5-inch to 6.5-inch bookshelf speakers work best. They’re small enough to fit, but large enough to deliver full-range sound. Avoid tiny USB speakers-they often have weak amplifiers and poor DACs. Look for powered speakers with a built-in amp, like the JBL 305P MkII, KRK Rokit 5, or PreSonus Eris. These are designed for studio use and reproduce audio accurately.