
| Approach | Primary Tool | Key Attribute | Performance Cost |
|---|---|---|---|
| VFX Compositing | Boris FX Sapphire | Dynamic Distortions | High (Render-heavy) |
| UI Glassmorphism | Fragment Shaders | Real-time Blur | Medium (GPU-dependent) |
| Materials Science | 3D Printing (DIW) | Structural Color | N/A (Physical Product) |
The Art of Digital Compositing and Liquid Distortion
In the world of high-end video production, liquid glass isn't about a single layer; it's about a stack of distortions. If you've used tools like Boris FX Sapphire, you know that a realistic glass effect requires a combination of several processes. You start with WarpBubble to create the initial physical displacement, then layer in EmbossDistort to give the edges a tactile, beveled feel. But here is where most people trip up: the blending. To get that "metaball" look-where two glass drops merge seamlessly-you can't just use a standard additive blend. You need to manipulate the shapes into pill or circle configurations and adjust the scale and rotation dynamically. To stop the edges from looking jagged, a subtle blur is required to reduce aliasing. If your footage is too dark, tweaking the gamma is the only way to ensure those specular highlights actually pop against the background. It's a delicate balance of distorting the image while maintaining enough clarity that the viewer understands they are looking through a refractive medium.Mastering Color Spaces for believable Glass
Color isn't just about the final hue; it's about how light interacts with the material. In a standard RGB workflow, trying to "color" glass often looks like you've just slapped a semi-transparent colored sheet over the image. Professional compositors avoid this by jumping between different color spaces to manipulate specific properties of light. For example, when you need to relight a glass element based on a nearby explosion, you don't just add orange. You convert the color space from Linear RGB to HSV (Hue, Saturation, Value). By isolating the Saturation and Value channels from the fire source and mapping them onto the glass or surrounding fog, you ensure that the light feels integrated rather than pasted on. This technique allows you to maintain the luminosity of the glass while inheriting the vividness of the environmental light source, which is critical for maintaining visual cohesion in complex scenes.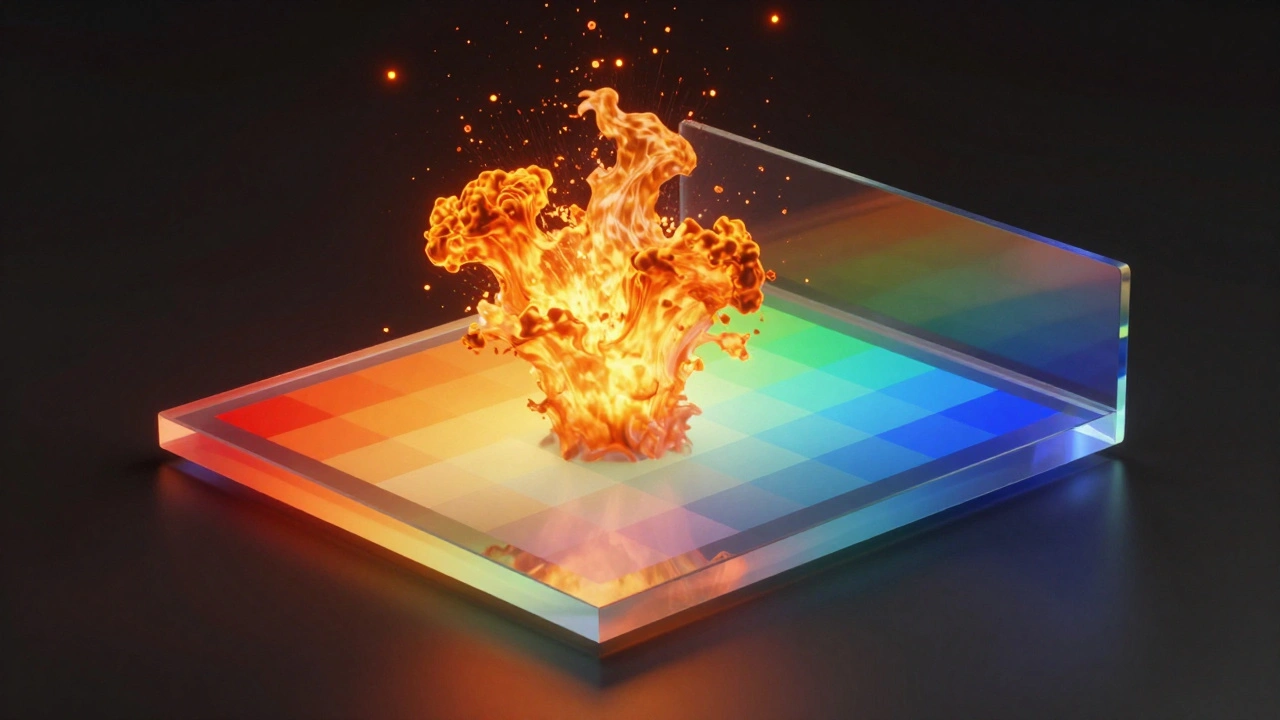
Building Efficient Shaders for Glassmorphism
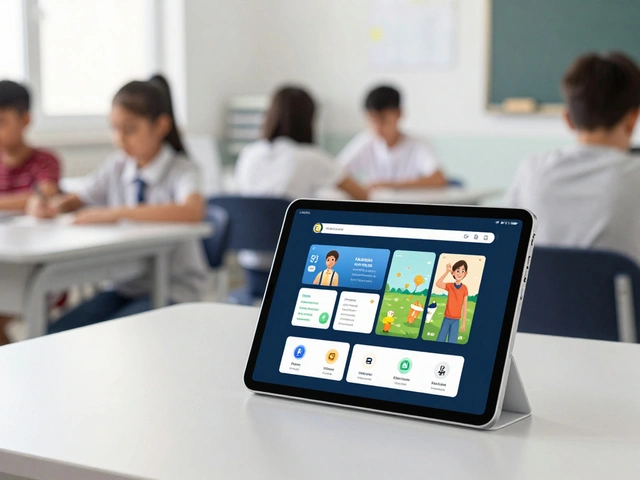
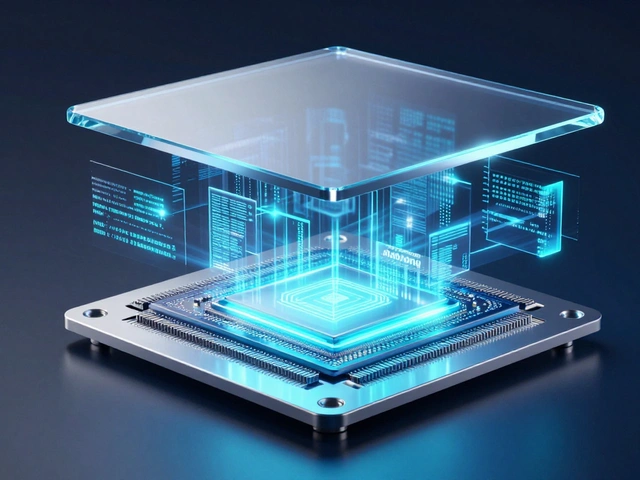
When we move from pre-rendered VFX to real-time UI, the constraints shift. You can't afford a ten-minute render per frame. This is where Glassmorphism comes in. The goal is to simulate the look of frosted glass in a mobile interface without draining the battery. To do this efficiently, the rendering pipeline usually follows three strict steps. First, the system renders the background layers-essentially everything behind the glass. Second, it applies a Gaussian Blur via fragment shaders. These shaders sample neighboring pixels to create a diffused look. However, sampling too many pixels will tank your FPS. The pro move here is to use a downsampled version of the background for the blur, then upscale it back to the original resolution. Finally, the blurred image is composited with a translucent overlay. This overlay usually contains a tint and a subtle gradient to mimic a light source hitting the top edge of the glass. By using design tokens-essentially JSON files that define exact blur amounts, tint colors, and corner radii-developers can ensure the glass looks consistent across different device screen densities.From Pixels to Particles: Photonic Colloidal Glasses
It's fascinating to see how these digital concepts mirror actual materials engineering. There is a physical version of liquid glass called Photonic Colloidal Glasses. Instead of using shaders to fake light refraction, scientists use Direct Ink Writing (DIW) to 3D print these structures. These objects are made from aqueous colloidal inks containing silica particles. The "color" here isn't from a pigment, but from structural color. By controlling the diameter of the silica particles (typically 200 nm, 250 nm, or 300 nm), they can tune the local order of the particles to reflect specific wavelengths of light. To make these colors vivid, they add carbon black to the mix, which acts as a broadband absorbing medium, preventing unwanted light from washing out the structural color. After printing, the objects are heat-treated at 200°C to remove the water and lock the particles into a rigid, glassy state. It's essentially "hard-coding" a shader into a physical material.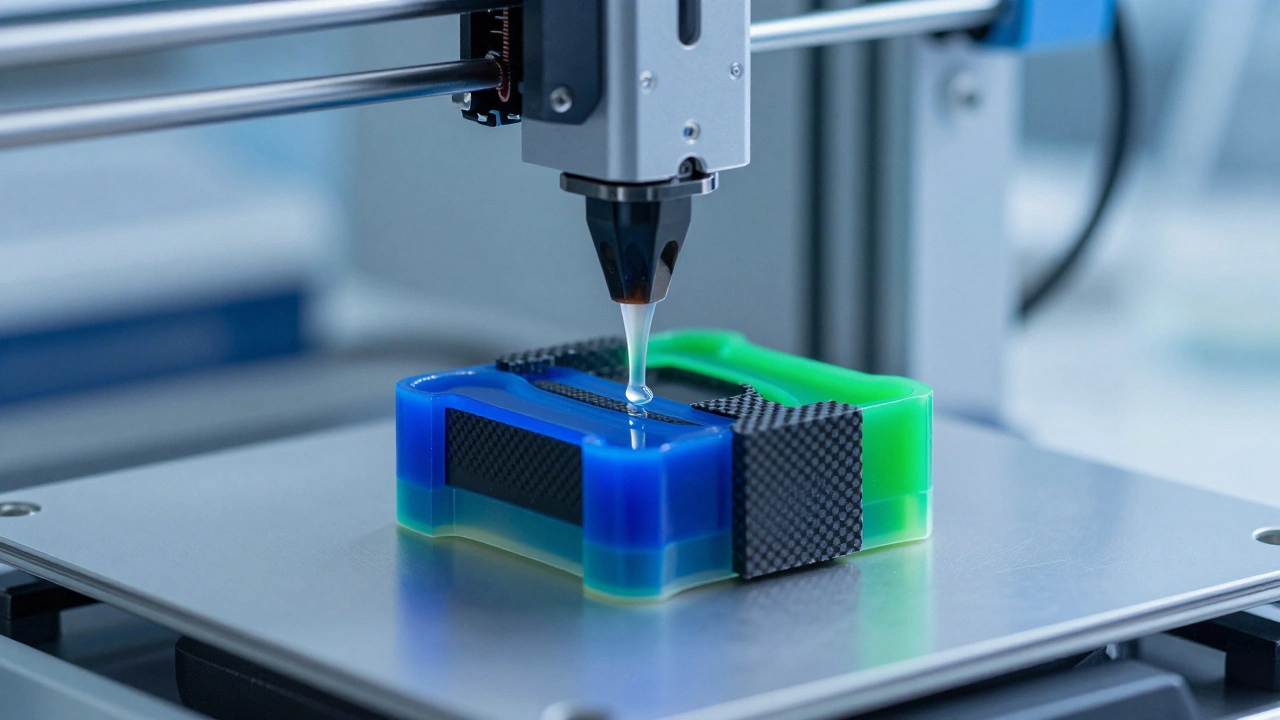
Common Pitfalls in Liquid Glass Engineering
Whether you're coding a shader or printing a colloid, a few common mistakes keep popping up. In UI design, the biggest mistake is over-blurring. When the blur radius is too high, you lose the contrast of the elements behind the glass, making the interface feel muddy and unresponsive. Always balance the blur with a slightly higher saturation on the background elements to keep the colors from looking dead. In VFX, the most common error is ignoring the refractive index. Real glass doesn't just blur; it bends light. If your distortion doesn't follow a logical curve based on the thickness of the "glass" object, the human eye will immediately flag it as fake. Use a gradient map to control the intensity of your warp effects-more distortion at the edges, less in the center.Why do my glass shaders look "flat" or like plastic?
Flatness usually comes from a lack of specular highlights and edge definition. In the real world, glass has a very thin, bright highlight at the edge where the light hits it. To fix this, add a thin, high-contrast white gradient along the top or side edges of your glass element and use a blend mode like 'Screen' or 'Linear Dodge' to make it pop.
Is Gaussian Blur the most efficient way to do real-time glass?
Not necessarily. While Gaussian blur is the standard, a "box blur" is computationally cheaper. Many high-performance UIs use a multi-pass box blur or a dual-filtering approach to mimic a Gaussian look while significantly reducing the number of texture samples the GPU has to perform per pixel.
How does changing the color space to HSV help in compositing?
In RGB, color and brightness are intertwined. If you try to add a red glow to a glass surface in RGB, you often end up changing the overall brightness. By switching to HSV, you can change the Hue (the color) and Saturation (the intensity) without touching the Value (the brightness), allowing for a much more natural light integration.
What is the role of carbon black in physical colloidal glasses?
Carbon black acts as an absorber. Without it, light would bounce around inside the silica structure and create a washed-out, milky appearance. The carbon black absorbs the "noise" of the light, allowing only the specific structural color created by the particle spacing to reach the eye, resulting in a vivid, saturated color.
Can I achieve the liquid glass effect without expensive plugins?
Yes, you can build a basic version using standard tools. Use a Displacement Map based on a noise texture to create the "warp," then layer a blur filter and a semi-transparent white overlay with a linear gradient. The key is to animate the noise texture's offset to simulate the fluid movement of liquid.